Coffee maker knowledge cleaning and maintenance of Little Eagle (illustration)
Bean grinder-Pegasus 600N
Pegasus 600N is a common household bean grinder, this article introduces the use and cleaning and maintenance methods, other similar business reduced version of bean grinder (such as: small flying eagle) is also applicable!
[brief description of parts]
"bean container": a place where beans are placed in the shape of a funnel, with a lid.
"scale adjustment button": No. 1-8, can be rotated to adjust the particle thickness
"Tooth disc group": after disassembling the two screws on the left and right of the scale adjustment button, the front and rear tooth plates are divided into front and rear tooth plates, which are used to grind beans. The front tooth disk and the feeder (spiral) can be removed and cleaned, and the back tooth plate is fixed (can not be rotated). Note that there are springs and 4mm rectangular keys on the shaft.
"scale regulator": after the screw in the center of the scale adjustment cover is removed, the scale regulator of the toothed disc can be seen.
"Coffee cartridge": opaque box with a lid and a hole in the lid
[novice on the road]
"usage":
1. Remember to plug in 110 volts and first put the amount of beans to be ground in a container.
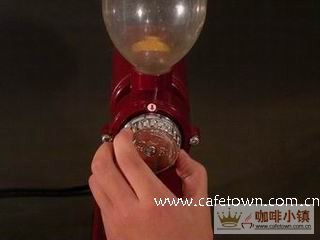
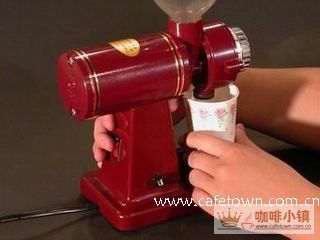
two。 Adjust the scale, the larger the number, the thicker the particles. Generally speaking, the size of the handbag can be adjusted to 3.5. 3. Turn on the switch first.
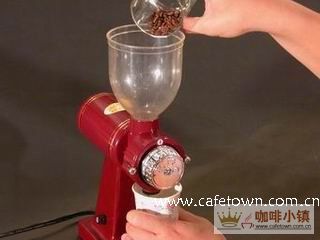
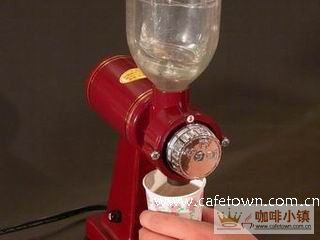
4. After turning on, pour beans in one hand and pick up coffee powder in the other until you don't hear the sound of grinding.
5. Turn off the machine and take out the paper cup.
[cleaning and maintenance]:
"Clean after use":
* when in normal use, just brush the outside with a brush after grinding the beans. Internal cleaning is best cleaned every 2 or 3 days.
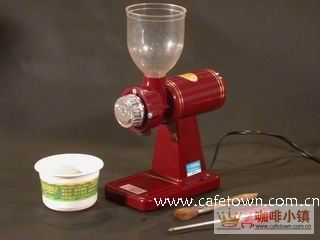
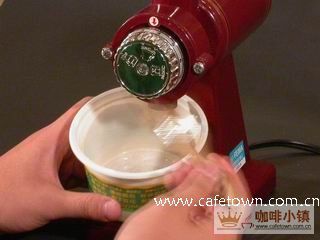
1. Prepare screwdrivers, brushes and small containers (coffee powder from the brush). two。 Clean the outside with a brush first.
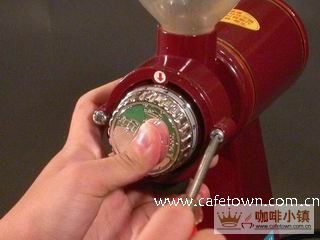
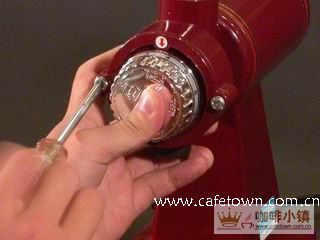
3. The Panasonic scale adjusts the screws on the left and right sides of the Panasonic scale.
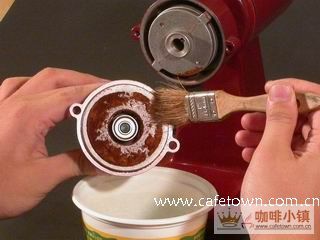
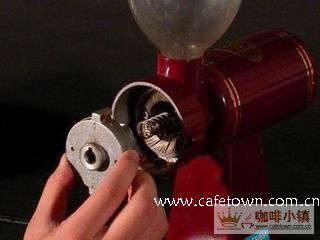
4. After taking off the scale adjustment button, the parts can be cleaned one by one. * Image above: remove the feeder and brush the coffee powder.
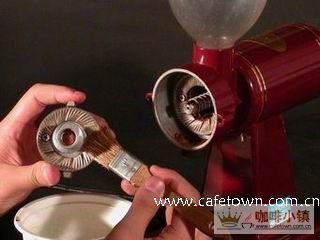
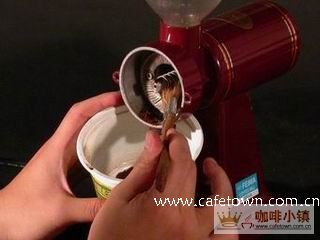
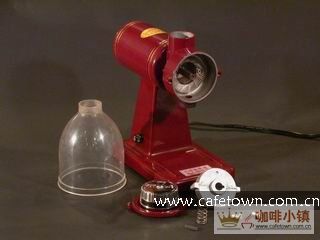
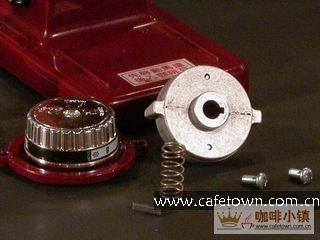
Have all the parts removed and cleaned been cleared?
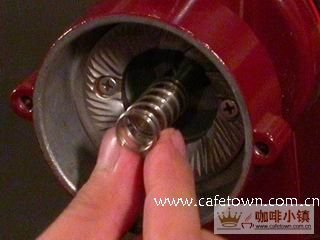
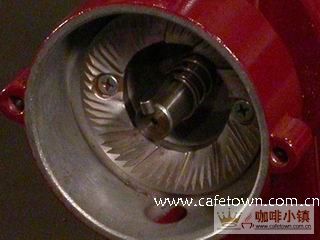
5. Assemble the spring, 4mm rectangular key and tooth disc back in order.
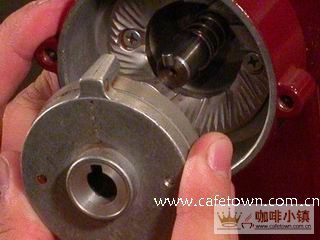
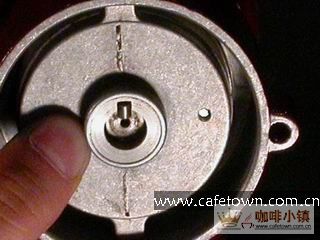
Left of the picture: the good thing is to install the feeder. Right: you can press the feeder to see if it is smooth.
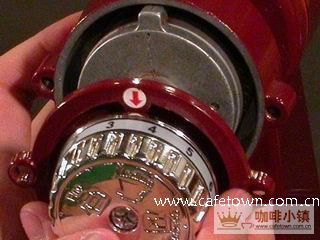
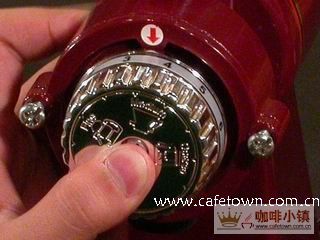
6. Put the scale adjustment button back on and note that the arrows are facing up.
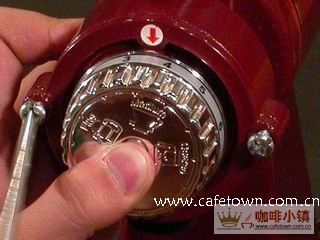
7. Lock the screw evenly
"adjust scale":
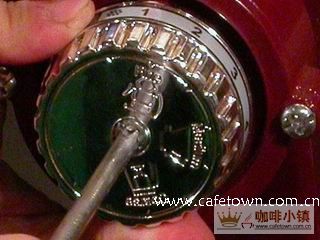
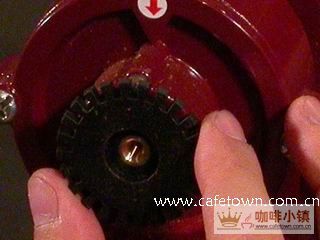
1. Remember the scale on the scale adjustment plate and turn the screw on the scale adjustment cover.
two。 Black adjustment plate, turn clockwise to the right to make the particles fine correction.
If you think the scale is too thick, turn a few frames clockwise to the right to adjust it.
Share
Follow Coffee Search for the latest coffee updates. Reproduced from "Coffee Search"
Article URL: https://www.coffeesearch.net/coffee22888.html
Related Articles
- Beginners will see the "Coffee pull flower" guide!
- What is the difference between ice blog purified milk and ordinary milk coffee?
- Why is the Philippines the largest producer of crops in Liberia?
- For coffee extraction, should the fine powder be retained?
- How does extracted espresso fill pressed powder? How much strength does it take to press the powder?
- How to make jasmine cold extract coffee? Is the jasmine + latte good?
- Will this little toy really make the coffee taste better? How does Lily Drip affect coffee extraction?
- Will the action of slapping the filter cup also affect coffee extraction?
- What's the difference between powder-to-water ratio and powder-to-liquid ratio?
- What is the Ethiopian local species? What does it have to do with Heirloom native species?